Printing Information
The latest files/stl’s for this will always start here. They may or may not make it to the other locations where they are available.
Links
- Files on Github
- Files on Thingiverse
- Files on MyMiniFactory (if you are inclined to pay for them)
Filament
Hardware
- 46 x M2x8
- 5 x M2x14
- 4 x M2x6
- 2 x M2x20
- 8 x Magnets 1/4x1/16x1/8
Recomended Tools
- Pokey, Proddy Tool or Pick Example
- Side Cutters
- 1.5mm Allen Driver/Wrench
- Needle Nose Pliers
Build Info
Build Videos available on the Kit Information page.
Transformation
File Layout
Versioning
Files on Github will be in folders designating the version of the model. Example 1.0, 1.1, etc. Files starting with the same number should be interoperable with files also starting with the same number. Example 1.0 files will work with 1.1 files. However if the fist number does not match the files will in some way not be interoperable.
Single vs MMU
Under each version there will be a Single and MMU folder. These refer to how many materials your printer can handle in a single print. I’m using a Prusa MK3S+ with MMU2S and printing Black/Gold/Red parts at the same time. So I use the MMU files. If you have something like an Ender 3 or Prusa MK3 without the MMU you’d use the Single files.
Colors
The colors used for this print will be refered to as Black, Gold and Red. The file names will reflect the color I print the parts in. In the case of MMU files where parts have multiple colors I’ll include the colors used, but assigning them to individual parts will be left to the user.
Sides
In interest of simplicity (and avoiding messages) the left and right side of parts that require will be included and indicated in the file name.
Sub-assemblies
I tend to think of the parts in groups as sub-assemblies and the parts will be marked as such in their filenames. No, the sub-assembly name doesn’t always make sense to everyone, sorry my sense of humor gets a little odd late at night.
Support Material
The file names will include one of the following to indicate the support material I typically print each part with
- NS - No support material in the given orientation
- BO - Bed only, overhangs are only over the bed.
- EW - Ewww, supports everywhere. Have fun cleaning it off.
Prusa Slicer
If the files are ones that I currently use I’ll include the Prusa Slicer project files with all of the settings and orientations I use when printing. More information about recomended orientation and support can be found below.
Detect Thin Walls
Using Detect thin walls can cause problems (thanks Jesse Schauer), specifically with the helmet and guns rotator.
Orientation
The files should be oriented for as I print them, combined with the information about support material in the file name you should be able to print successfully.
Body
The body parts are printed vertically because finish is better with no flat spots or dangly overhangs. This can make it challenging to print them without full supports. I’d recommend looking at my Prusa slicer project files to get ideas on how to print them vertically.
So. much. support material
Some of the parts are odd shapes and to be printed in an orientation that provides the best quality for the visible portions they use “support everywhere”. If you think of a way around this let me know.
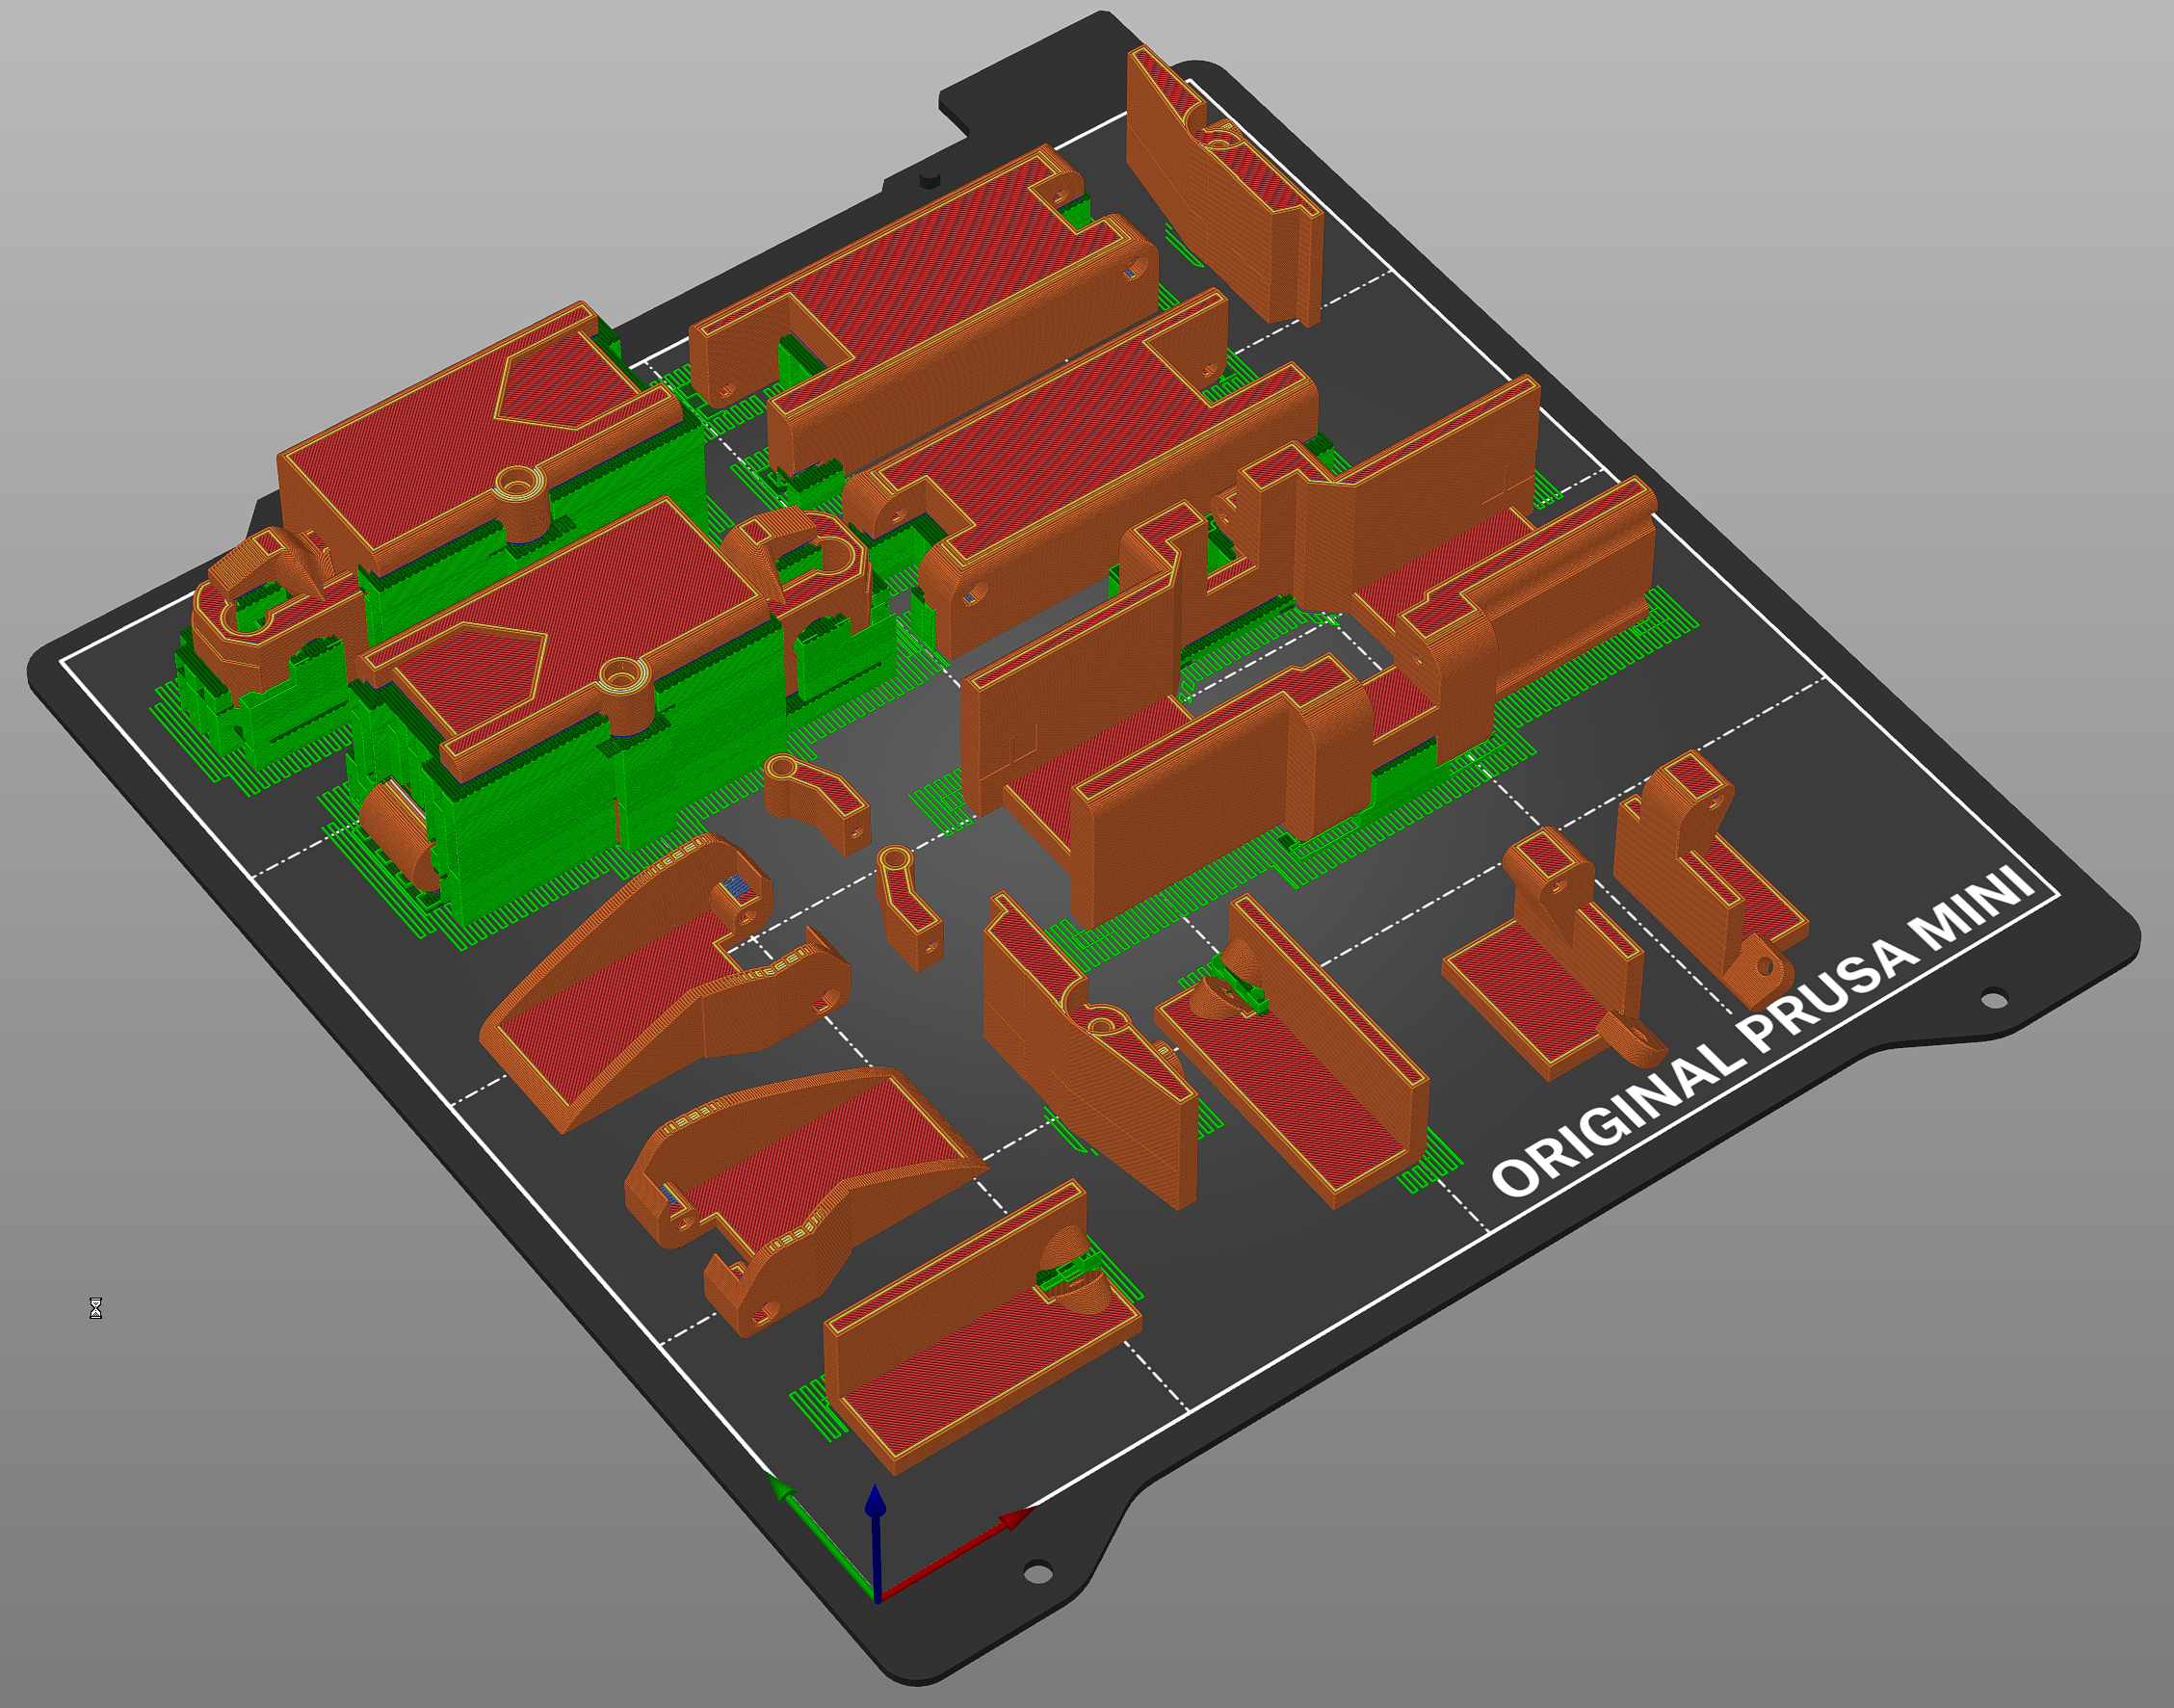
Below are screen shots from my PrusaSlicer project files so that you can compare your orientation of parts.

